In night photography, "glint" refers to intense, brief reflections from smooth surfaces that can obscure details and negatively impact image quality. To minimize glint and achieve crisp shots, photographers should strategically choose locations with minimal reflectives, use high ISO settings and narrow apertures, and carefully adjust composition. The most effective mock camera locations replicate urban obstacles and reflective surfaces for accurate glint detection system testing. By angling and positioning cameras to simulate diverse viewpoints, photographers can anticipate and manage unwanted reflections, resulting in cleaner, more aesthetically pleasing night images.
Uncover the secrets to flawless night photography with our guide to camera lens glint detection. Explore the impact of glints on your images and learn how to choose the Most Effective Mock Camera Locations for precise detection. From understanding the phenomenon to mastering techniques, this comprehensive approach ensures you capture stunning nighttime scenes without unwanted reflections. Discover the art of achieving crisp, clear shots even in low-light conditions.
- Understanding Glint and Its Impact on Night Photography
- Choosing the Best Mock Camera Locations for Accurate Detection
- Techniques for Effective Glint Detection During Nighttime Sessions
Understanding Glint and Its Impact on Night Photography
Glint, in night photography, refers to the reflection of light from smooth surfaces like glass or water, appearing as brief, intense flashes in images. This phenomenon can significantly impact the quality and authenticity of nighttime photos, particularly when capturing landscapes or cityscapes. The effect is often unwanted, introducing bright spots or ‘glare’ that may obscure important details in the scene.
Identifying the most effective mock camera locations to minimize glint is crucial for achieving crisp, well-exposed night shots. By carefully selecting areas with minimal reflective surfaces and using specialized techniques like high ISO settings, narrow aperture choices, and careful composition adjustments, photographers can significantly reduce the appearance of glint. These methods ensure that the focus remains on the intended subject matter, enhancing the overall visual appeal of night photography endeavors.
Choosing the Best Mock Camera Locations for Accurate Detection
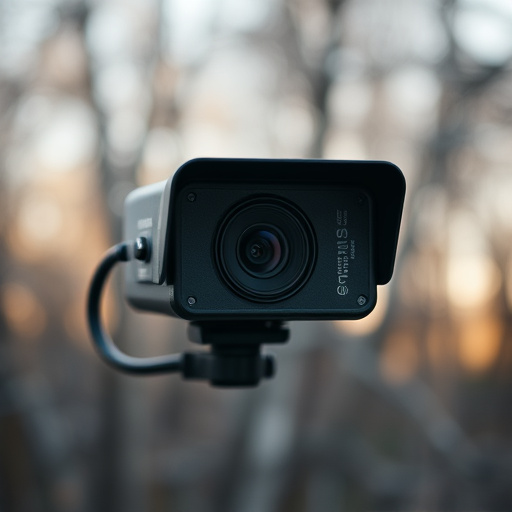
When developing a glint detection system for night-time testing, selecting the optimal mock camera locations is paramount to achieving accurate results. The goal is to mimic real-world scenarios as closely as possible while ensuring consistent and reliable glint data collection. Therefore, these locations should offer diverse environments with varying lighting conditions, surface reflectivities, and potential glint sources.
The most effective mock camera positions are typically those that replicate common obstacles or reflective surfaces found in urban landscapes. For instance, positioning mock cameras near tall buildings, glass structures, or water bodies can provide valuable data on glints caused by street lights, shop fronts, and ambient reflections. Additionally, considering angles and distances to simulate different viewpoints further enhances the accuracy of the system during testing.
Techniques for Effective Glint Detection During Nighttime Sessions
To achieve effective glint detection during nighttime photography sessions, strategizing your mock camera locations is paramount. Positioning simulated cameras at various points around the subject or scene can provide a more comprehensive view of where light reflections might occur. This technique allows you to anticipate and identify potential glints that could affect image quality, especially when using wide apertures or long exposures. By mimicking the angles and positions of real camera setups, you gain insight into the behavior of light in low-light conditions, enabling you to take proactive measures during actual shooting.
The most effective mock camera locations often include strategic points above, below, and alongside the subject, as well as at different distances. This multi-directional approach ensures that you don’t overlook any significant glint sources. Additionally, using reflective surfaces like mirrors or water can simulate real-world conditions and offer valuable insights into managing unwanted reflections. With practice, this process becomes second nature, leading to cleaner, more aesthetically pleasing night images.
In conclusion, understanding glint and its impact on night photography is key to capturing sharp, high-quality images. By selecting the most effective mock camera locations, such as reflective surfaces in well-lit areas, and employing techniques like using long exposures and low ISO settings, photographers can significantly enhance their nighttime shooting. These methods ensure accurate glint detection, allowing for remarkable results that showcase the beauty of night photography.